Selling carports in tornado-prone regions is different. In states like Oklahoma and Texas, buyers don’t...
Read moreInstalling a carport yourself can be a rewarding and cost-effective project. With some basic tools and a bit of elbow grease, you can create a sturdy shelter for your vehicle. Here are some easy-to-follow tips to help you successfully install your carport.
Tips Plan Your Project
Tips to Choose the Right Carport Kit
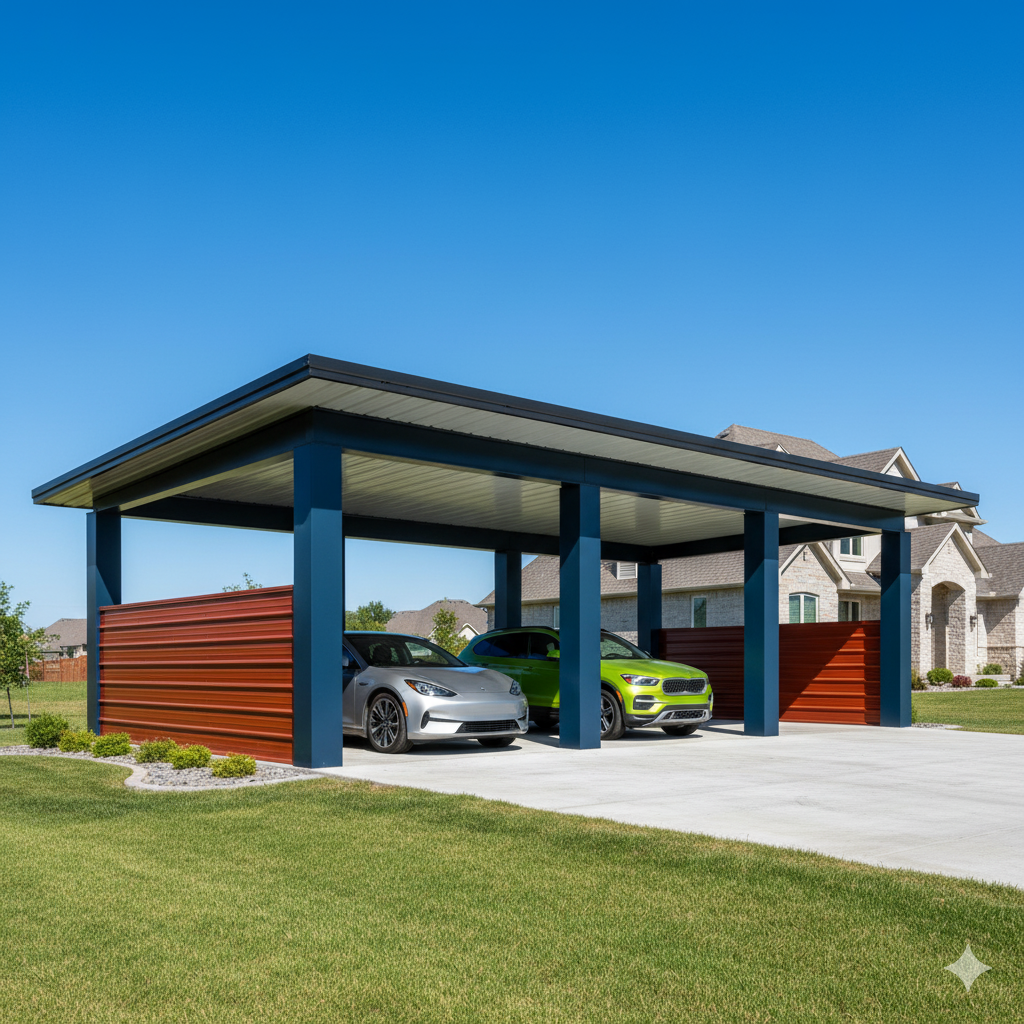
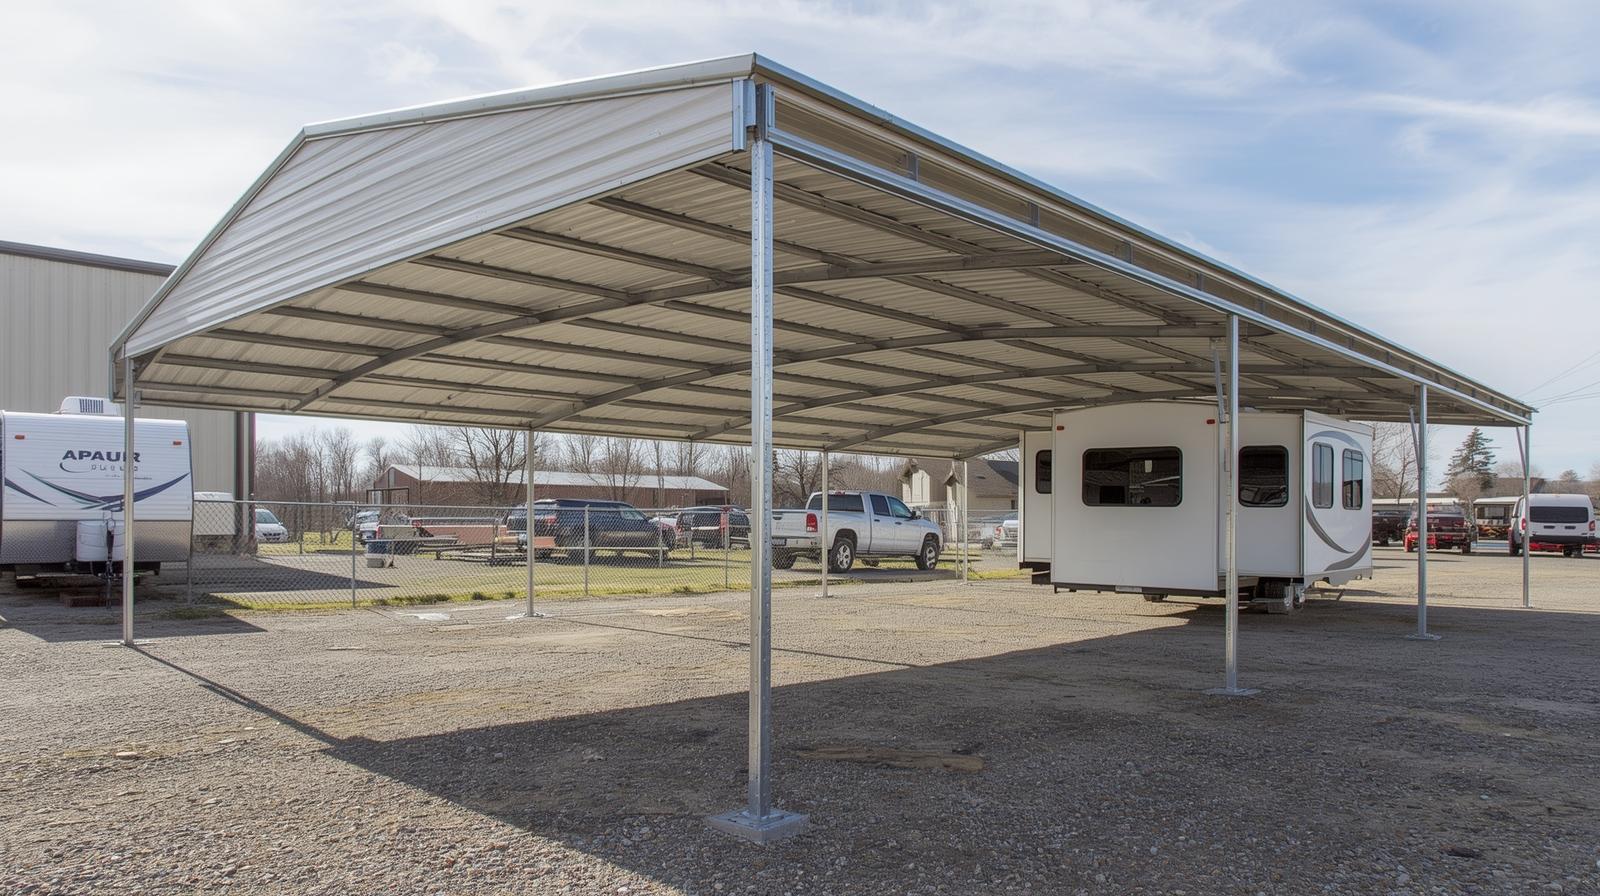
Size and Type: Determine the size and type of carport you need based on the number of vehicles and the space available. Carport kits come in various sizes, from single-car to multi-vehicle options.
Material: Decide between metal and wood. Metal is durable and low-maintenance, while wood offers a more traditional look but requires more upkeep.
Check Local Regulations
Permits: Check with your local building authority to see if you need any permits for your carport. Obtaining the necessary permits ensures your project complies with local building codes.
HOA Approval: If you live in a community with a homeowners association (HOA), review their guidelines and get approval if required.
Tips to Prepare the Site
Select a Location
Level Ground: Choose a level spot for your carport. A flat surface ensures stability and makes installation easier.
Accessibility: Ensure the location provides easy access to your home and doesn’t obstruct driveways or walkways.
Clear the Area
Remove Debris: Clear the site of any debris, rocks, or vegetation.
Mark the Area: Use stakes and string to mark the boundaries of your carport.
Gather Tools and Materials
Essential Tools
- Wrenches and socket set
- Screwdrivers
- Hammer
- Tape measure
- Level
- Drill with metal bits (if you’re using a metal carport)
- Safety gear (gloves, goggles)
Carport Kit Contents
Inventory: Check that all parts listed in the kit’s inventory are included. This typically consists of frames, panels, bolts, nuts, and assembly instructions.
Build the Foundation
Foundation Types
Concrete Slab: Provides a solid and durable base. You may need professional help to pour and cure the concrete.
Gravel Base: Easier to install than concrete and provides good drainage. Spread and level a layer of gravel to create a stable foundation.
Tips to Assemble the Carport
Follow the Instructions
Read Thoroughly: Carefully read through the assembly instructions before you start. Familiarize yourself with each step to avoid mistakes.
Step-by-Step: Follow the instructions step-by-step, ensuring all parts are correctly aligned and securely fastened.
Tips to Assemble the Frame
Base Rails: Lay out and secure the base rails to the foundation.
Vertical Supports: Attach the vertical supports to the base rails, ensuring they are plumb (perfectly vertical).
Top Rails: Connect the top rails to the vertical supports to complete the frame.
Install the Roof and Panels
Roof Panels: Attach the roof panels, starting from one end and working your way across. Ensure each panel overlaps correctly and is securely fastened.
Side Panels: If your carport includes side panels, attach them in the same manner as the roof panels.
Tips to Secure and Finish
Anchor the Carport
Anchoring: Secure the carport to the foundation using anchor bolts. This is crucial for stability and resistance to wind and weather.
Double-Check: Ensure all bolts and screws are tight and all components are securely attached.
Add Finishing Touches
Sealing: Apply sealant to any joints or seams to prevent leaks and weather damage.
Paint or Stain: If you’re using a wooden carport, consider painting or staining it for added protection and aesthetics.
Conclusion
Installing a carport yourself is a manageable project that can save you money and provide a sense of accomplishment. By following these tips and taking the time to plan and prepare, you can successfully build a durable and functional carport. Enjoy the satisfaction of creating a protective shelter for your vehicle, and happy building!
_______________________________________________________________________________________________________________________________
Recent Blogs
Similar Blogs You May Like
Discover exciting categories. Find what you're looking for.
Carports are built to protect vehicles.But what protects the carport itself? Harsh weather—like strong winds,...
Read more
Weather can damage vehicles faster than most people expect. Hail can dent surfaces.Sun exposure can...
Read more
Multi-bay metal carports are widely used for commercial parking, fleet storage, residential complexes, and industrial...
Read more